
Ansible and Terraform (magically) working together
In the previous episode, you learned how to install Ansible, Terraform, create ssh keys and some basic user configuration on AWS. In this episode, we will use a live example to get you “warmed up”. We will clone the code from Github so you don’t have to waste your time on inputting all code yourself, modify some variables and provision and deploy two servers on AWS. Try to figure out what goes on behind the scenes, but no worries we will explain this in detail in the last episode of this Ansible Terraform series.
1. Setting up our Ansible project fromgithub.
You can download/clone the project from github.

This will create the next file structure:
- ansible-terraform/
- group_vars/
- vars.yml
- vault.yml (not included in git)
- inventory/
- roles/
- databaseserver/
- tasks/
- main.yml
- terra-provision/
- tasks/
- main.yml
- templates/
- terraform.tfvars.j2
- webserver/
- tasks/
- main.yml
- templates/
- a_website.conf.j2
- index.html.j2
- terraform/
- main.tf
- .gitignore (which file not to include in the git repository)
- playbook.yml
- README.md
You can use any editor you like for working on your project. For example, Atom or Microsoft Visual Studio Code have plugins for both Ansible and Terraform which makes them good tools for this job.
First, we will create an Ansible vault file for our AWS secrets that we downloaded in the previous episode. We will also add the public key created in the previous episode.
An Ansible vault file is a text file that will be encrypted by a password to store your credentials more securely. Let’s get started!
Create a file vault.yml in the group_vars map.
 The file should have this content.
—
public_key: “ssh-rsa AAAXXXXXXXXXXXXXXXXXXXXXXXXXXXXXXXXXXXXXXXXXXXXX”
aws_access_key_id: “AKXXXXXXXXXXXXXXXX”
aws_secret_access_key: “9hVmdMsLXXXXXXXXXXXXXXXXXXXXXXXXXXXX”
…
Make sure you use the keys created in the previous episode for this.
Next, encrypt the file with the ansible-vault command.
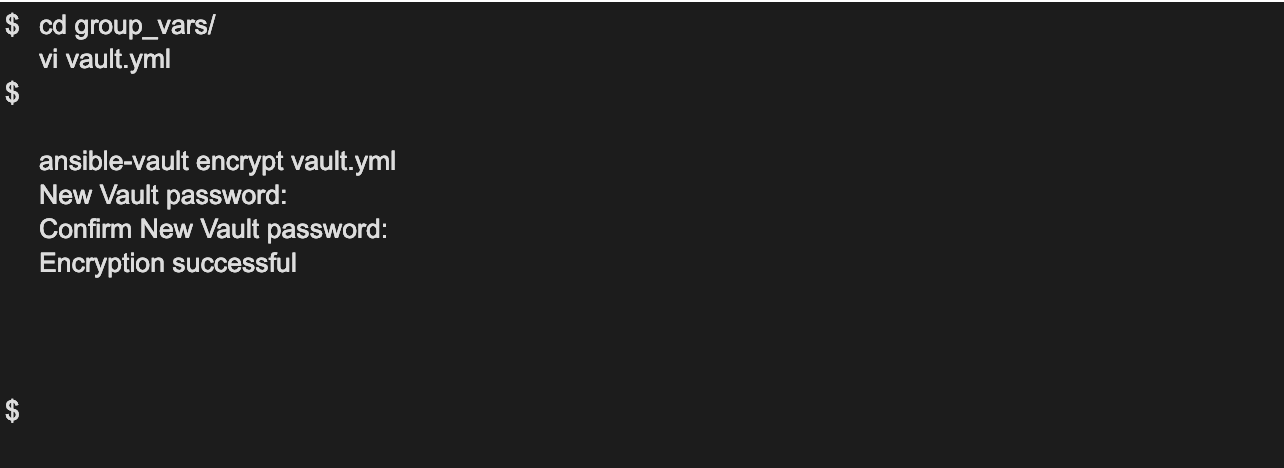
Now your AWS secrets are stored in a secure way. Make sure to keep track of the password. You will need it to run your playbook in the next paragraph.
You can always edit this file via:

2. Run your playbook.
We can now start the playbook.yml file via the following command.

–private-key (the path to the private key Ansible uses for connecting to the machines via ssh.)
–extra-vars: (with this flag you can give extra variables to the Ansible command.)
–ask-vault-pass: (prompt for the vault password.)
Enter your vault password and watch the magic.
Output example:
PLAY [localhost]
TASK [create teraform.tfvars]
TASK [terra-provision : create terraform.tfvars]
changed: [localhost]
TASK [init the terraform if .terraform is not there]
changed: [localhost]
TASK [run the terraform script]
changed: [localhost]
TASK [set vm_ip / name]
ok: [localhost]
TASK [remove old dynamic group_vars file]
ok: [localhost] => (item=group_vars/dynamic_web.yml)
ok: [localhost] => (item=group_vars/dynamic_db.yml)
TASK [create new centos group_vars file]
changed: [localhost] => (item=group_vars/dynamic_web.yml)
changed: [localhost] => (item=group_vars/dynamic_db.yml)
TASK [create the inventory directory]
changed: [localhost]
TASK [remove old dynamic host file]
ok: [localhost]
TASK [create new dynamic host file]
changed: [localhost]
TASK [add retrieved IP to file]
changed: [localhost]
TASK [add retrieved IP to file]
changed: [localhost]
TASK [add retrieved IP to file]
changed: [localhost]
TASK [Add host]
changed: [localhost]
TASK [Add host]
changed: [localhost]
TASK [Collect facts again]
ok: [localhost]
TASK [Wait 300 seconds for port 22 to become open and contains the string "OpenSSH"]
ok: [localhost]
PLAY [dynamic_web]
TASK [Gathering Facts]
ok: [52.215.235.149]
TASK [create a website]
TASK [webserver : yum update]
changed: [52.215.235.149]
TASK [webserver : install apache]
changed: [52.215.235.149]
TASK [webserver : create website configuration]
changed: [52.215.235.149]
TASK [webserver : copy html page]
changed: [52.215.235.149]
TASK [webserver : restart webserver]
changed: [52.215.235.149]
PLAY [dynamic_db]
TASK [Gathering Facts]
ok: [34.251.117.128]
TASK [create a database]
TASK [databaseserver : yum update]
changed: [34.251.117.128]
TASK [databaseserver : install mysql]
changed: [34.251.117.128]
TASK [databaseserver : restart mariadb]
changed: [34.251.117.128]
TASK [databaseserver : Create a new database with name devoteam]
changed: [34.251.117.128]
PLAY RECAP
34.251.db_ip             : ok=5    changed=4    unreachable=0    failed=0
52.215.web ip             : ok=6    changed=5    unreachable=0    failed=0
localhost                  : ok=17   changed=11   unreachable=0    failed=0
So, now you have your servers. Click here to see the result of the webpage.
If you want to access the machine via ssh:
ssh –i ~/ansible-terraform-keys/id_rsa centos@57.255.web_ip
If you like to destroy the servers build in the previous command, you can do this by running the same command again but with a different variable. (aws_instance_state=absent)

Now the machines, security groups and keys build in the previous command will all be destroyed on AWS.

