
DevOps, Ansible, Ansible Tower and OpenShift: all hot topics these days.
Why Ansible? Working in IT, you’re likely doing the same tasks over and over. What if you could solve problems once and then automate your solutions going forward? Ansible and Devoteam are here to help you do so. Why Tower? So you are convinced that Ansible is the way to go and did already some automation tasks with it. Now you want to share this with your organisation, so they can reuse your fantastic job. You also want to be able to control which user can run which tasks, you want to schedule tasks, centralize and control your IT infrastructure with a visual dashboard. Tower is the perfect tool for the job.
In this blog post series, we’ll show you the power of Ansible and how easy it is to organise different playbooks, a group of tasks that you want to do with Ansible. We’ll guide you through a quick set-up of Tower on your local computer. After that we’ll demonstrate the power of Ansible Tower by deploying OpenShift OKD, the Origin Community Distribution of Kubernetes that powers Red Hat OpenShift, on Microsoft Azure. On OKD we will deploy a PHP application “Devoteam Countdown”, which will count down till the next new year.
This will be done in a series of four episodes that will be posted in the coming weeks. So keep following us! In the first episode we will show you how to install Tower and make your fresh Tower installation ready to do the job.
Episode 1: Tower installation and prerequisites
Let’s get things started. We’re going to use Vagrant to spin up Tower on our local machine. Vagrant is a tool for building and managing virtual machine environments in a single workflow. With an easy-to-use workflow and focus on automation, Vagrant lowers development environment setup time, increases production parity and makes the excuse “it works on my machine” a relic from the past. Vagrant can work with different hypervisors. You can use VirtualBox or KVM on Linux, Hyper-V and VirtualBox on Windows and VirtualBox for Mac.
For this episode you’ll need:
- VirtualBox. Vagrant also works with other Hypervisors like libvirt and Hyper-V, but we focus on the default VirtualBox because it can be used on Linux, Windows and Mac.
- The Ansible/Tower Vagrant box.
For Tower we’re going to use the Ansible/Tower Vagrant box. Execute the following steps:
1. Install VirtualBox as hypervisor. Go to the Oracle Virtualbox download page and get the appropriate installer for your system. Install the package.
2. Install Vagrant. Head over to the Vagrant download page and get the appropriate installer or package for your platform. Install the package using standard procedures for your operating system. The installer will automatically add Vagrant to your system path so that it’s available in terminals. If it is not found, please try logging out and logging back into your system.
3. Spin up the Ansible/Tower Vagrant box. Boxes are the package format for Vagrant environments. A box can be used by anyone on any platform that Vagrant supports to bring up an identical working environment.
The only thing we need now is a Vagrant image including Tower. We will create a ‘Vagrantfile’ for this. The primary function of the Vagrantfile is to describe the type of machine required for a project, and how to configure and provision these machines.
This file can be created as follows:

After you’ve created the VagrantFile into the directory, the only thing left to do is to start up this machine. This can be done with the following command in the directory where you created the VagrantFile:

The Ansible Tower machine will now be downloaded. The user to login with is admin. You get the IP and the password at the end of the installation. This information can also be retrieved by invoking the next command:

This will give you Secure Shell access to your Tower machine. At the top, you’ll get all the info you need to access Tower via your browser:
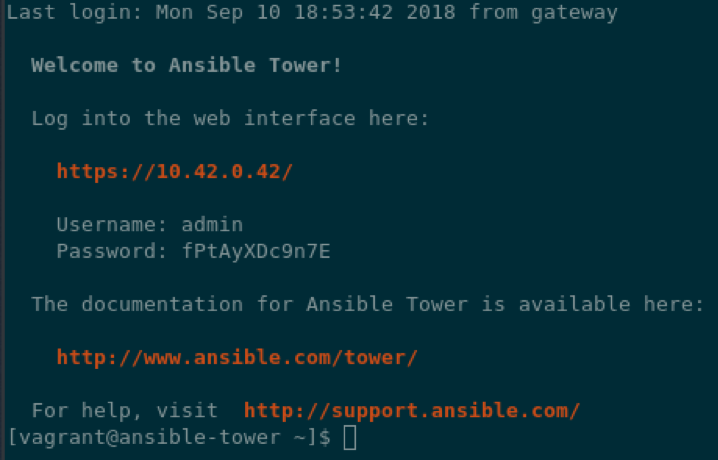
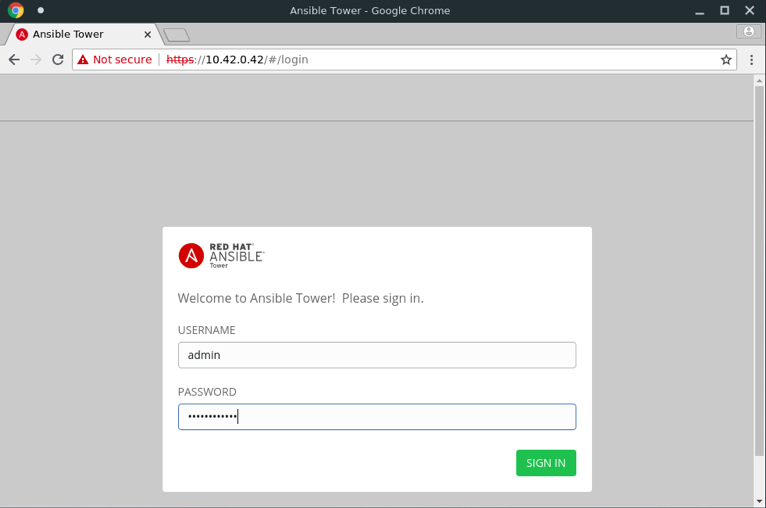
If you open your browser and enter the returned url, you can login with admin as user and the password returned by the Vagrant SSH command. In our case: fPtAyXDc9n7E. Use Chrome or Chromium browser to add your licence, Firefox is not opening the browse pop-up to select a file.
After signing in, you’ll get the following screen:
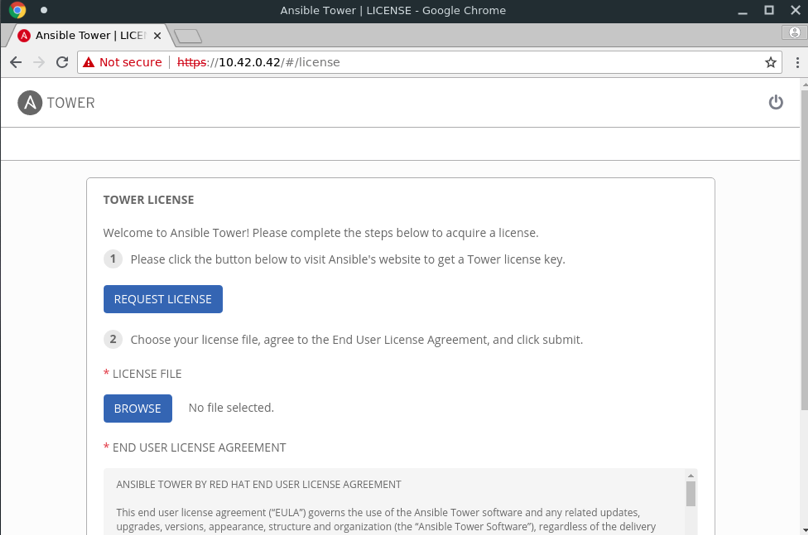
You can get a temporary test licence via the first button. Make sure to select an Enterprise licence, because otherwise you do not have the possibility to create Surveys in the next Episode. If you already have a licence, browse to the file and continue to use Tower.
Configure Ansible Tower in order to communicate with Microsoft Azure. Enter the Tower VM again with Vagrant SSH and install the AZURE CLI client. Pay attention, Vagrant SSH must be run in the directory where the VagrantFile is located.
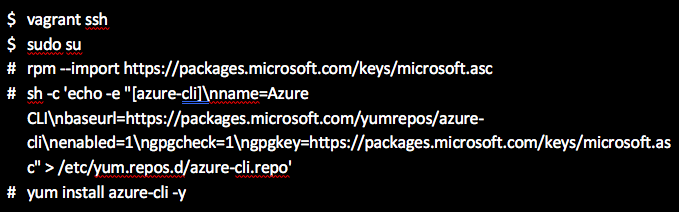
Try to login to Azure to test the CLI:

What’s next?
This blog post is part of the series “Using Ansible Tower to deploy OpenShift on Azure: a step-by-step guide”. Next time we’ll create a project in our Ansible Tower. This will make it possible to use the playbooks we prepared in GitLab. We’re also going to generate Inventories and add credentials to Ansible Tower. For this you’ll need an account on Microsoft Azure.

